This guide will teach you how to achieve excellent tasting results which are as good or better tasting than the pods you buy in the store. There are a lot of guides on the internet about how to re-fill Nespresso Vertuo pods, but none are quite detailed enough about what details you need to pay attention to in order to replicate the right level of extraction from the coffee.
Why do this?
- To save money. We can bring the cost down from about $1 per pod, to about $0.40 per pod or potentially less (more on that below).
- You prefer decaf. It’s the one thing Nespresso refuses to offer more of. They have exactly one decaf coffee for each capsule size. If you want variety in decaf, your only option is to make your own.
- You want a fun DIY project.
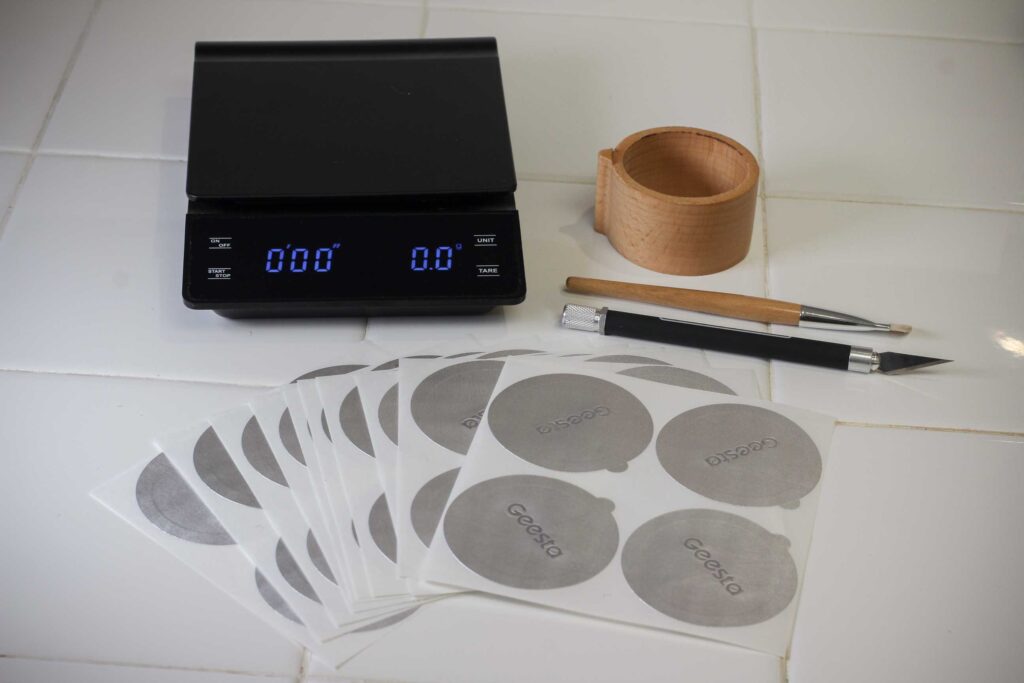
Equipment you’ll need:
- Gram scale, accurate to 0.1g
- Exacto knife
- Foil capsule lids
- A capsulte holder of some kind
- Most importantly, a good coffee grinder with a variety of espresso grind settings.
The Nespresso brewing process: what do we actually have control over here?
With most coffee brewing methods, you can control many of the variables which affect extraction and taste. However, when brewing with refilled Nespresso pods, we actually don’t have control over most of the process.
The machine controls water temp, RPM speed, and water quantity, all of which are encoded in the circular barcode on the pods. We don’t really need to know these details though.
The system is fine-tuned to precisely extract just the right amount of flavor from the coffee beans, and so we need to fill the pods with exactly the right quantity of coffee.
The remaining variables we do have control over are: coffee bean type, and grind size. And it’s pretty important to get them both right.
What kind of coffee beans to use?
You need to buy high quality whole coffee beans. If you need help finding good coffee beans, check out James Hoffmann’s video “A Beginners Guide to Buying Great Coffee” for some tips.
The system yields better results with darker roasts. They taste rich and decadent and most Nespresso coffees available are fairly dark or medium roasts.
You’ll be on the right track if you find a coffee that is:
- Freshly roasted, with a recent “roast date” printed on the bag
- A dark or medium roast. “Espresso” roasts work well.
How to grind the coffee beans
This is the single most important step.
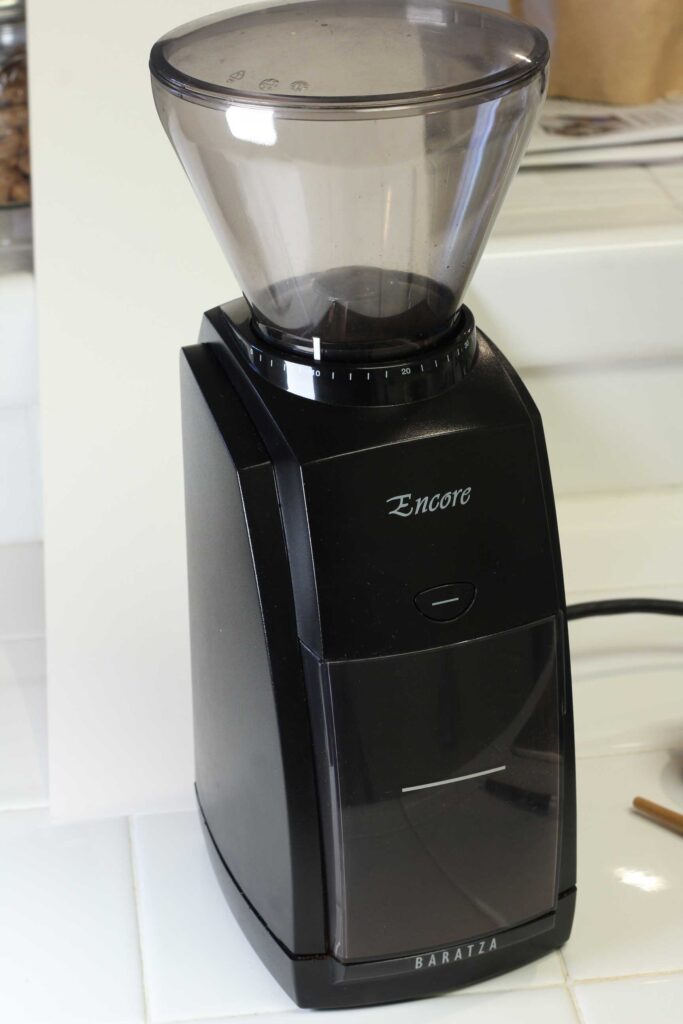
You need a good burr grinder with precise grind size step adjustments. Don’t even bother trying this with a blade coffee grinder, or pre-ground coffee.
It’s really important that the grinder is consistent and accurate. You need to be able to make tiny adjustments to find the right grind, then be able to repeat that size in the future.
You’re also going to need to do some trial and error with your specific grinder. Make one coffee pod, brew, taste, then adjust. If it tastes too bitter and strong, go more coarse. If too weak, try finer.
I use a Baratza Encore, an entry level all purpose grinder, which just barely has enough precision for this task. It has 30 steps and can do both fine espresso and also coarse grinds. But only about 3 of the steps are in the correct range for Nespresso pods. I use grind size 9 on the Encore as a starting point for most dark beans. Sometimes I’ll dial it to 10 or 11 if it tastes too strong at 9. Every coffee grinder is calibrated slightly differently, so even if you have an Encore you may need to experiment to find the right grind size.
If you have access to a high quality espresso specific grinder, like the Baratza Sette 270, then you’ll have much better control to get a good result. But it would be kind of strange to buy a $400 coffee grinder for the sole purpose of refilling Nespresso pods.
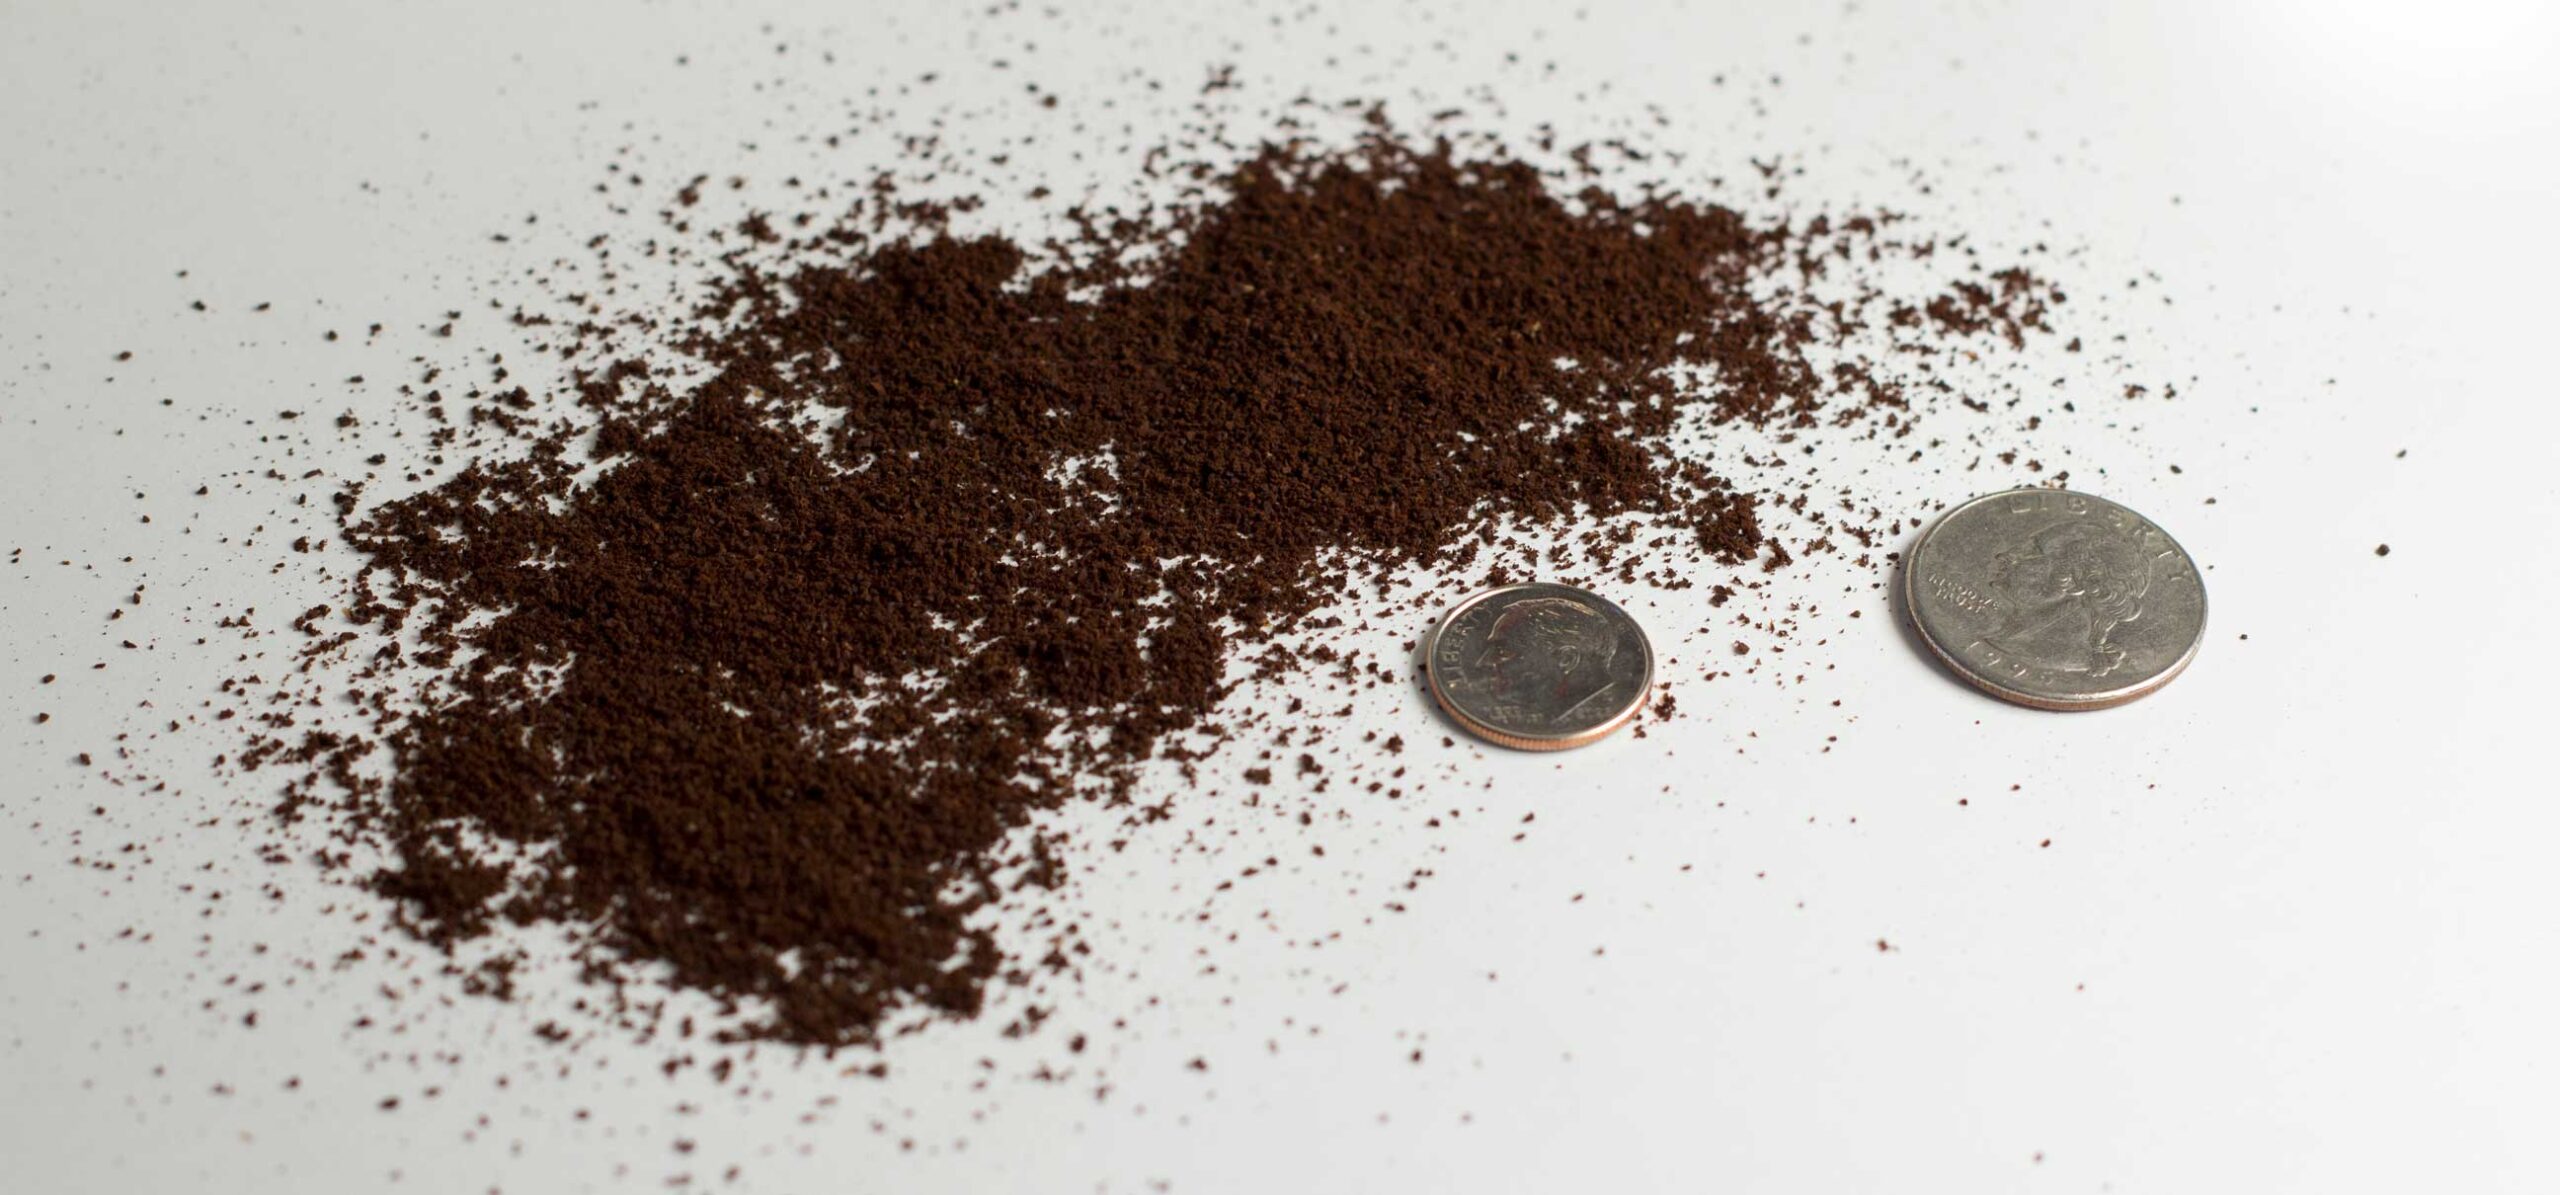
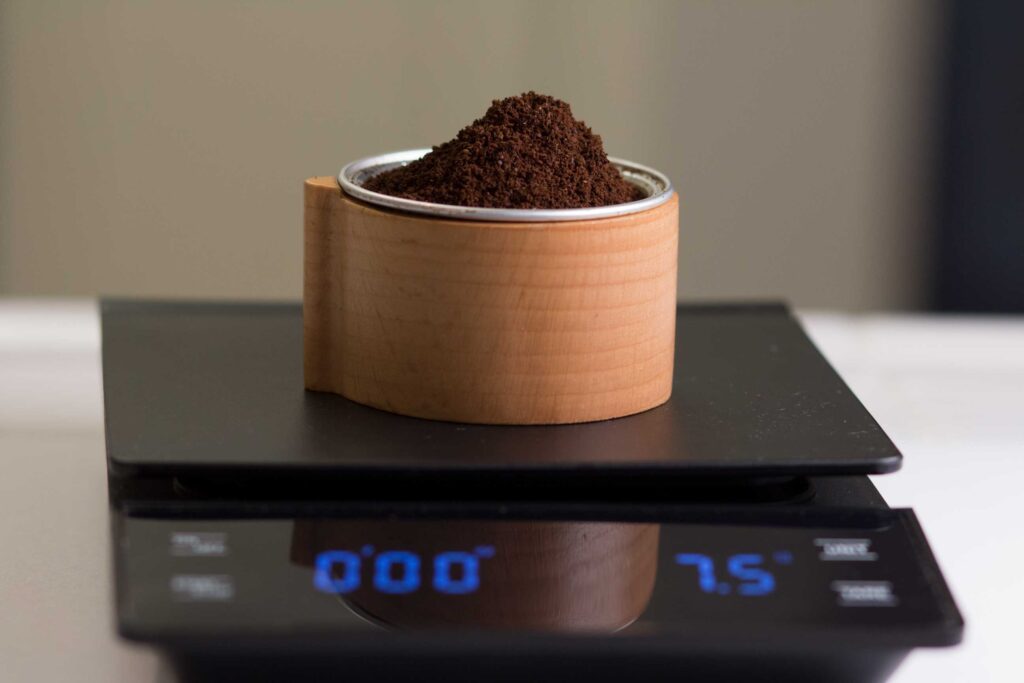
The photo below shows the approximate grind size you should aim for. This was ground on the Encore, at grind size 10.
How much coffee to use?
It’s very important to use exactly the amount of coffee in the pod that it is designed for. Too little and you’ll have a weak, watery extraction. Too much and the water won’t flow through the pod.
You’re going to need a gram scale that is accurate to a tenth of a gram. If your scale only measures whole grams, you’re going to have a margin of error of up to 0.5 grams. For an espresso pod, that 0.5g is a 7% delta from the target which could result in your coffee pods being randomly +/- 7% stronger or weaker. So get an accurate scale.
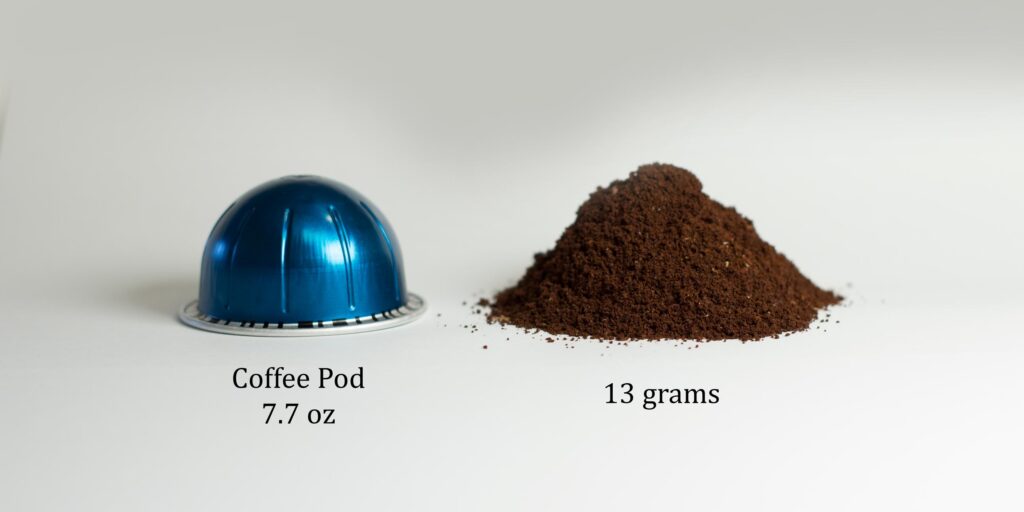
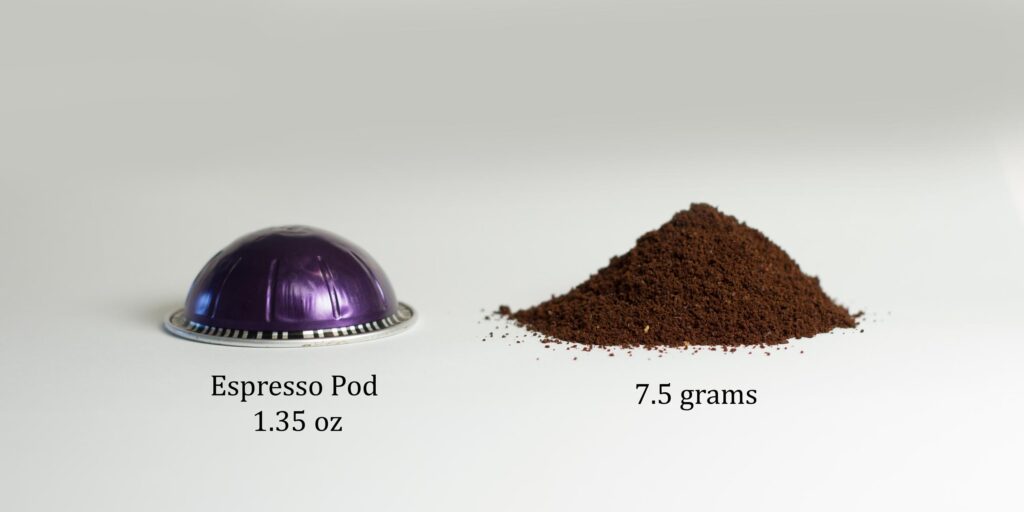
Figuring out how much coffee to put in the pod is really easy: just empty out a pod and weigh the amount of coffee that it originally came with.
Here’s a quick reference of common pod sizes:
| Pod Size | Coffee Weight |
| Espresso | 1.35 oz | 7.5 grams |
| Double Espresso | 2.7 oz | 10.5 grams |
| Coffee | 7.7 oz | 13 grams |
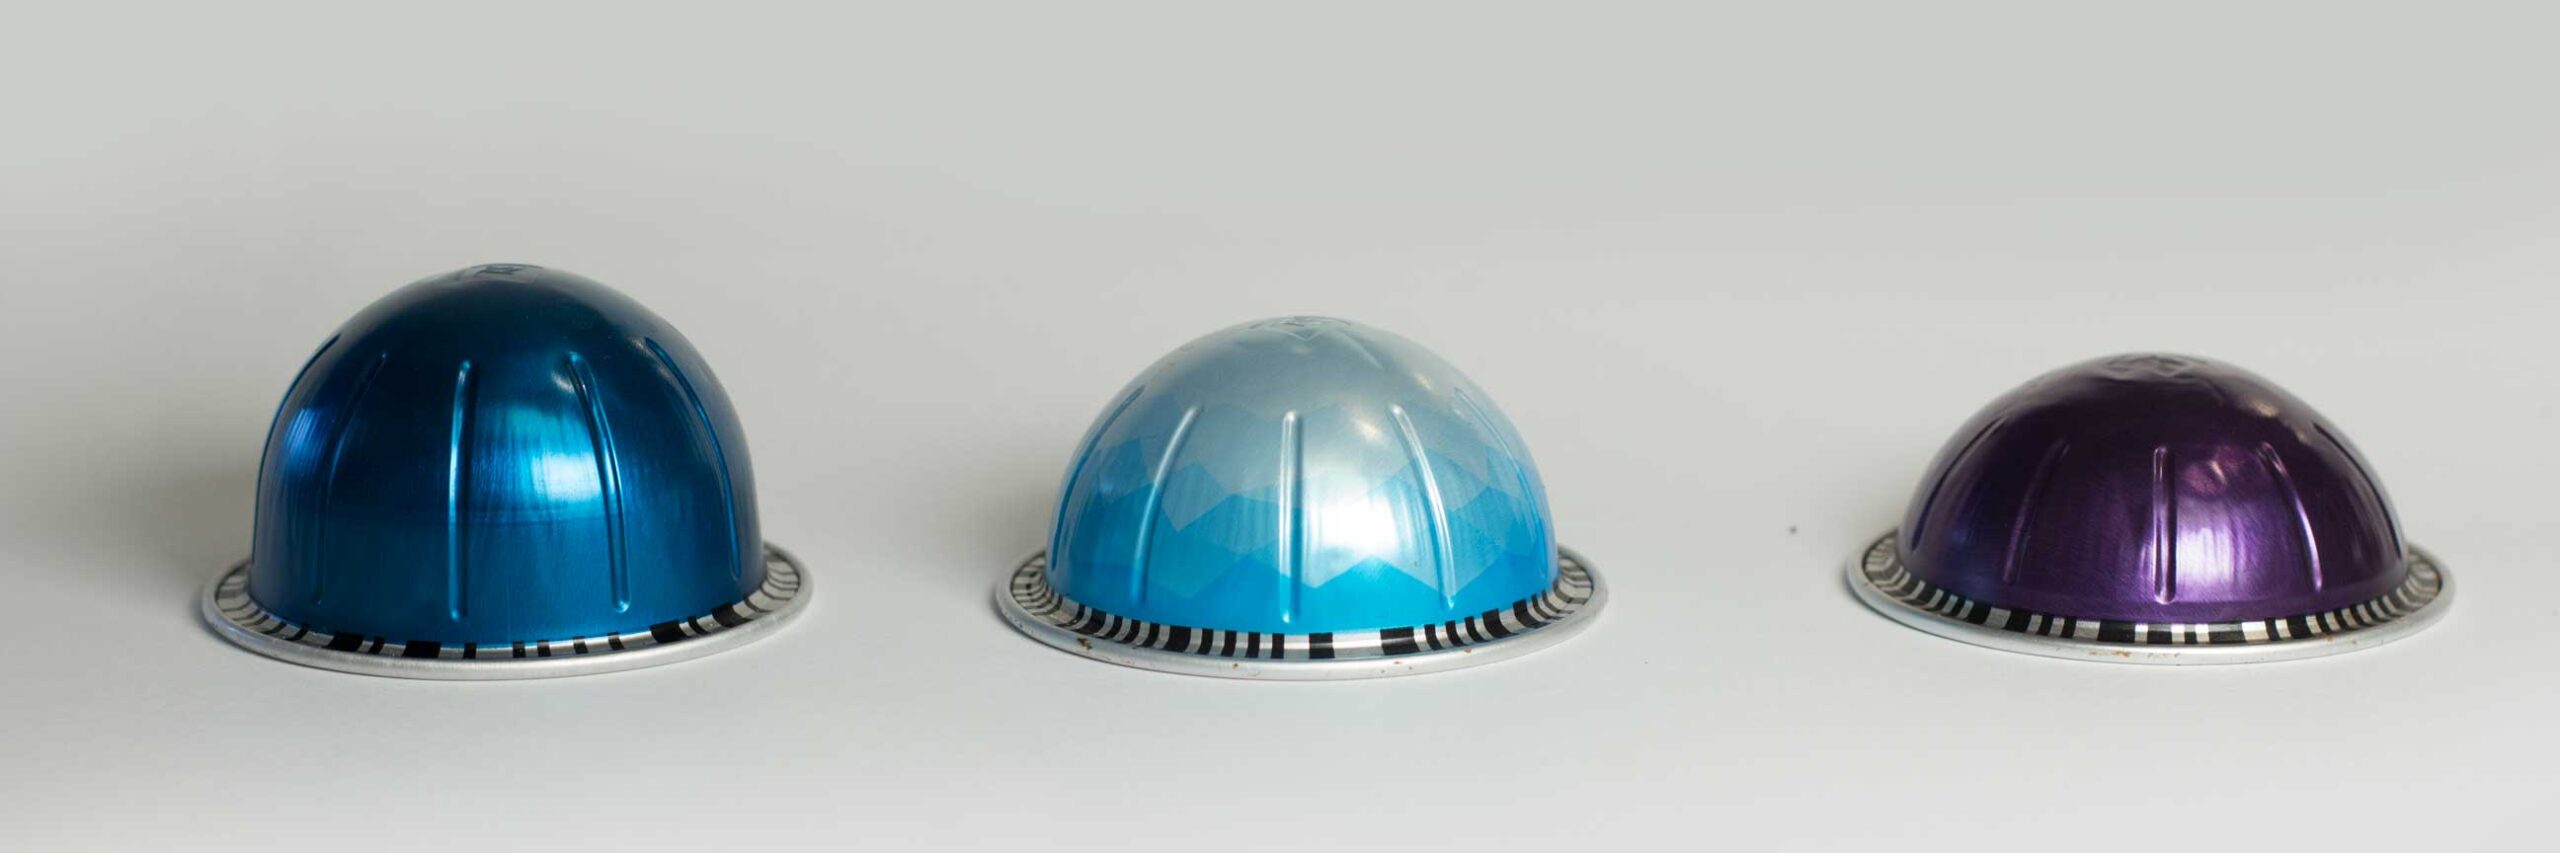
What pods to use?
The official pods work quite well, and you can buy foil sticker lids online.
Each pod has slightly different brewing parameters. I haven’t quite figured them out yet, but I recommend picking a pod that you already own and trying it. If you can’t get good results, switch to a different pod.
I do not recommend buying a 3rd party refillable pod. I have not read good things about this method.
Achieving great tasting results
Many people try to fill pods at home and are disappointed with the taste initially. However, it is possible to achieve great tasting results that are as good or better than the original Nespresso pods.
Here’s what you have to do: For each kind of coffee bean you buy, you’re going to develop a “recipe” for how to prepare a pod with that specific bean.
Every coffee bean will need a different grind size. Every bean will taste different in every pod. The variables you need to figure out are: (1) what coffee bean to use, (2) in what pod, and (3) at what grind size?
Here are the steps to follow to create a recipe:
- Pick a pod.
- Pick a coffee bean.
- Pick a grind setting for fine espresso.
- Fill the pod (with the exact amount of coffee for that style of pod).
- Brew the pod.
- Taste the coffee.
- Adjust and try again.
After tasting: if it is too bitter and over-extracted, adjust the grind size to be more coarse and repeat steps 3-6. If it is too weak and watery, adjust the grind size to be finer and repeat steps 3-6. The end result is extremely dependent on grind size and quality, and that’s really the secret here.
Keep repeating this until you find the grind size that tastes amazing. If you can’t find it, try switching to a different pod. If you still can’t, then try a different coffee bean with a different roast style.
When you find a combo that you really like, write it down. Then you can consistently re-create it. Your recipe card might look something like this:
| Pod | Coffee | Grind Size |
| “Melozio Pod” | Equator Espresso Blend | 10 |
The Pod Filling Procedure
Now that we’ve talked about what we’re going to do, and why it’s so important to get grind size and quantity exactly right, let’s jump into the process of filling up pods! This is easier to understand when you see it, so I’ve included short video clips demonstrating each part of the process:
1. Emptying and preparing a factory-sealed pod
2. Filling a pod
3. Sealing a pod
Store the filled pods for up to 1-2 weeks for maximum freshness. They’ll still be okay to drink beyond that, but will taste less fresh because the sticker seal isn’t perfectly air tight.
4. Re-use again, and again!
Cost benefit analysis
Let’s examine our costs to see how much we can save. Let’s say you don’t own any coffee gear, and purchase all of the suggested gear in this post. This would be your fixed, up-front costs:
| Item | Cost |
| Baratza Encore | $150 |
| Gram Scale | $20 |
| Wooden pod holder | $22 |
| Total initial equipment cost: | $192 |
Then, to refill each pod let’s say you purchase high quality coffee beans which cost $20 per pound ($0.33 per 7.5g). This would be the cost to refill one espresso pod:
| Item | Cost |
| 7.5g coffee beans ($20 per lb) | $0.33 |
| 1 foil sticker lid ($24 per 240) | $0.10 |
| Total cost per pod refill: | $0.43 |
For comparison, Nespresso Vertuo espresso pods cost about $1 per pod and contain 7.5g of ground coffee. That comes out to $60 per pound (453g) of coffee, which 3 times more expensive than buying coffee beans yourself.
After refilling 337 pods, which would take about 67 weeks if you brewed one espresso pod every weekday, you would “break even” and be at the same cost for doing refills compared to buying new pods:
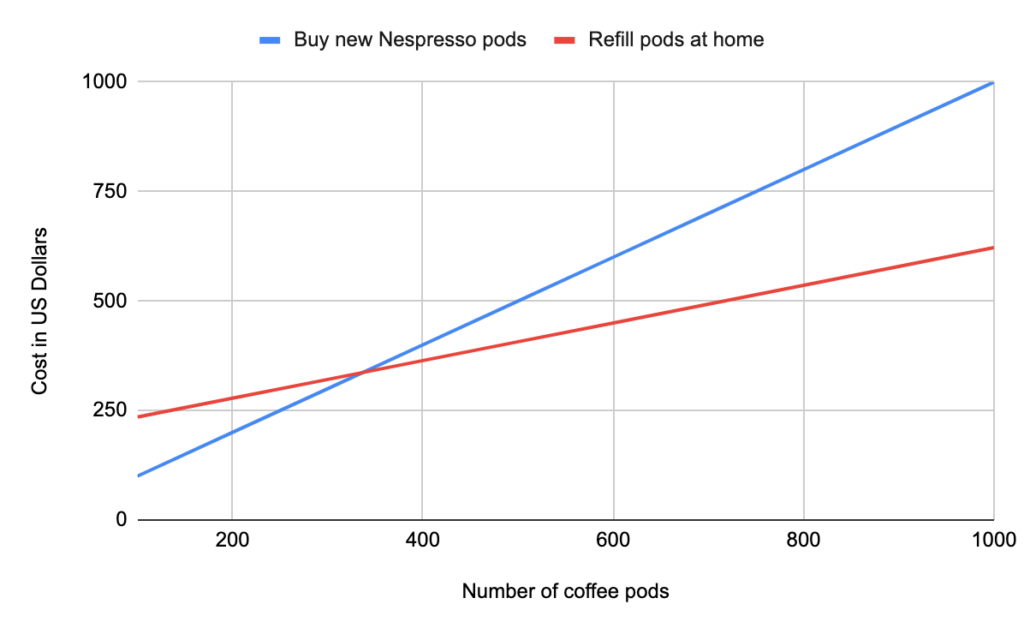
| Number of Pods | Cost of Nespresso pods | Cost to refill at home |
| 100 | $100 | $235 |
| 200 | $200 | $278 |
| 300 | $300 | $321 |
| 400 | $400 | $364 |
| 500 | $500 | $407 |
Closing thoughts
Most people who care about brewing good coffee at home will prefer a traditional method like a pour over, french press, Aeropress, or moka pot, etc. The amount of time and effort it takes to refill a Nespresso pod is almost more time than it would take to just brew coffee using a normal brewing method.
So it’s kind of strange idea that one would put a ton of effort into this. But I do, and you can too. I enjoy being able to have a variety of decaf coffee beans conveniently ready to brew in a pod based system.
If you want to understand the mechanics of Nespresso brewing to take this even further, check out some of these links:
Leave a Reply